Great! You've created a promising machine learning model using AzureML Studio. How do you make it available to colleagues for practical use? In Microsoft-speak, how do you "operationalize" it? The AzureML Studio makes it very easy to convert an existing experiment into an Azure web service that can be accessed from any application that supports internet connectivity.
Trimming the Experiment
In all likelihood, your experiment includes steps designed to test your model and provide some evaluation of its effectiveness. The portion of your experiment included for testing is not needed in the deployed web service. Fortunately, preparing an experiment for deployment does not alter the experiment itself, so the testing code will remain for future tests.
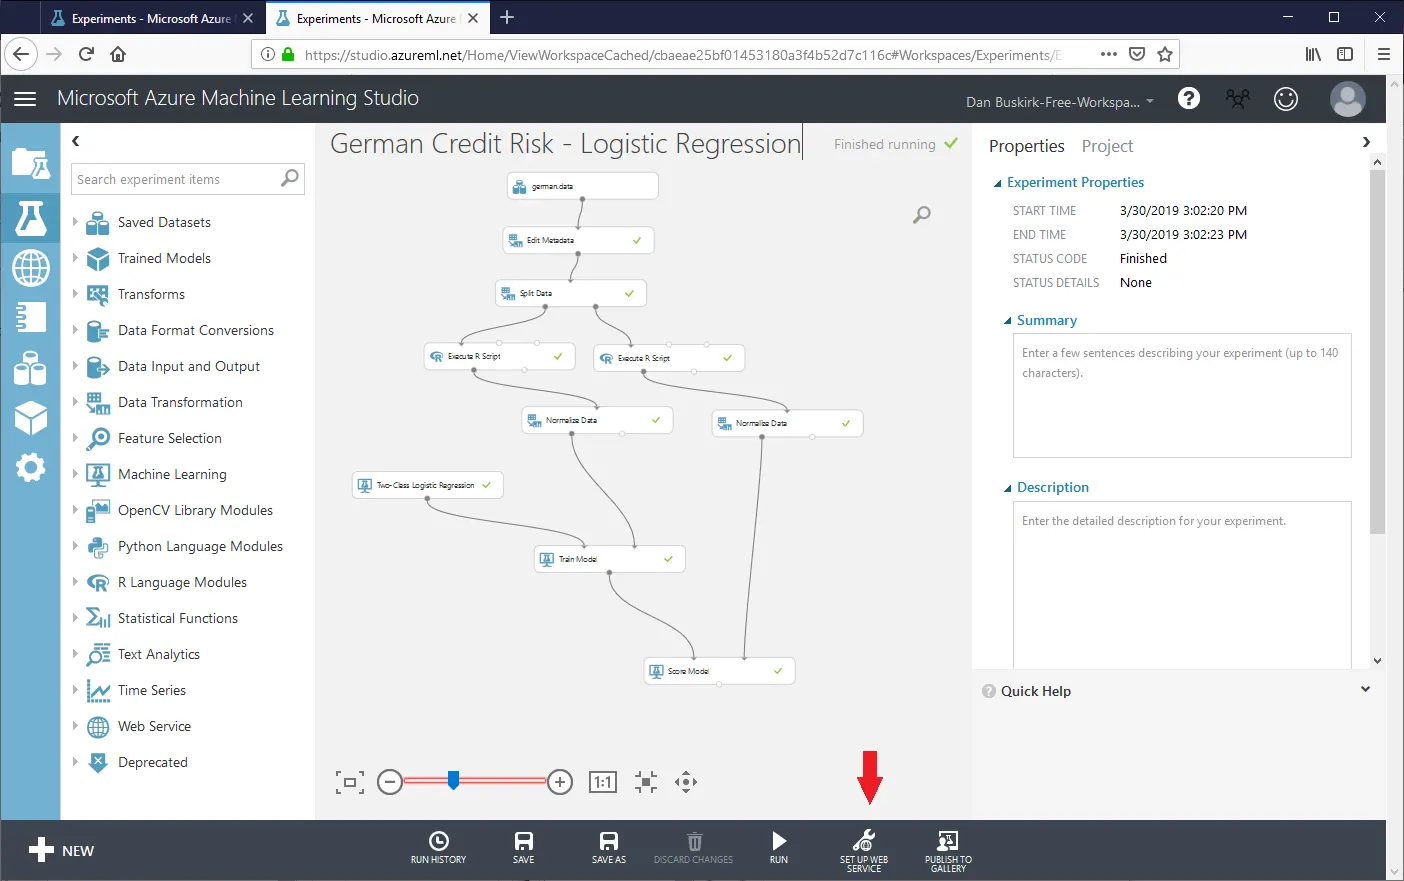
We will illustrate this using a logistic regression created for the popular German credit risk example dataset.
We must ensure that we run the experiment again after any last minute changes. AzureML Studio will want to know that it has the latest information about columns and datatypes before it will do the conversion to a web service. Once we have run the experiment, we will click the Deploy Web Service button. In general, we will wish to create a web service that predicts values, although it is possible to create a web service that retrains the underlying model.
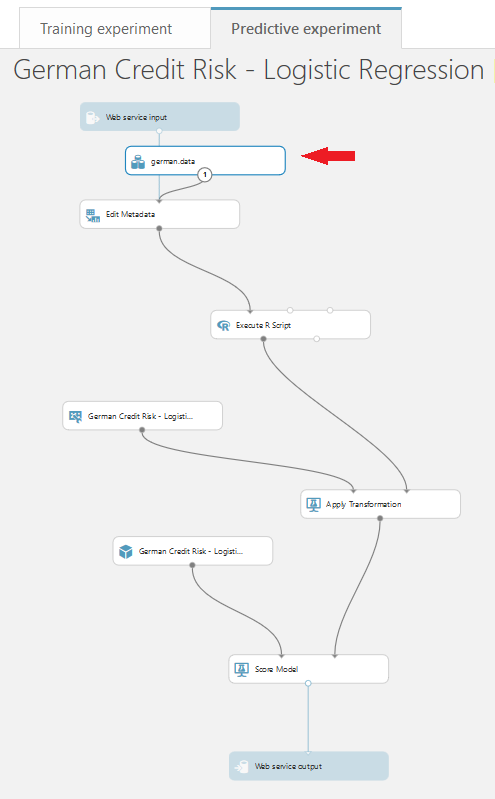
We see that the AzureML Studio has created a new tab at the top for our predictive web service and has left the original experiment intact. At the very top is a new step representing the input data for which predictions are desired. Similarly, a new step has been added to the end representing the return of the predicted values to the web client. Curiously, the input data for the German Credit Risk dataset is still present in the nascent predictive model. Why is this? AzureML will need information about columns and datatypes to build the predictive model, so the source data is still required.
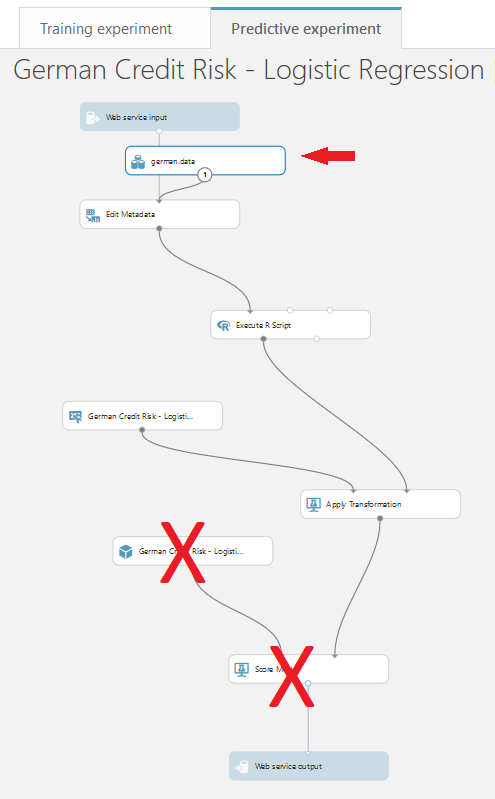
Steps used in the original model for separating training and testing sets and for evaluating resulting models are not needed here, and the AzureML Studio has removed them automatically. If your original experiment included additional steps, such as the comparison of two different models, you may need to manually remove steps that are no longer required.
Deploying the Web Service
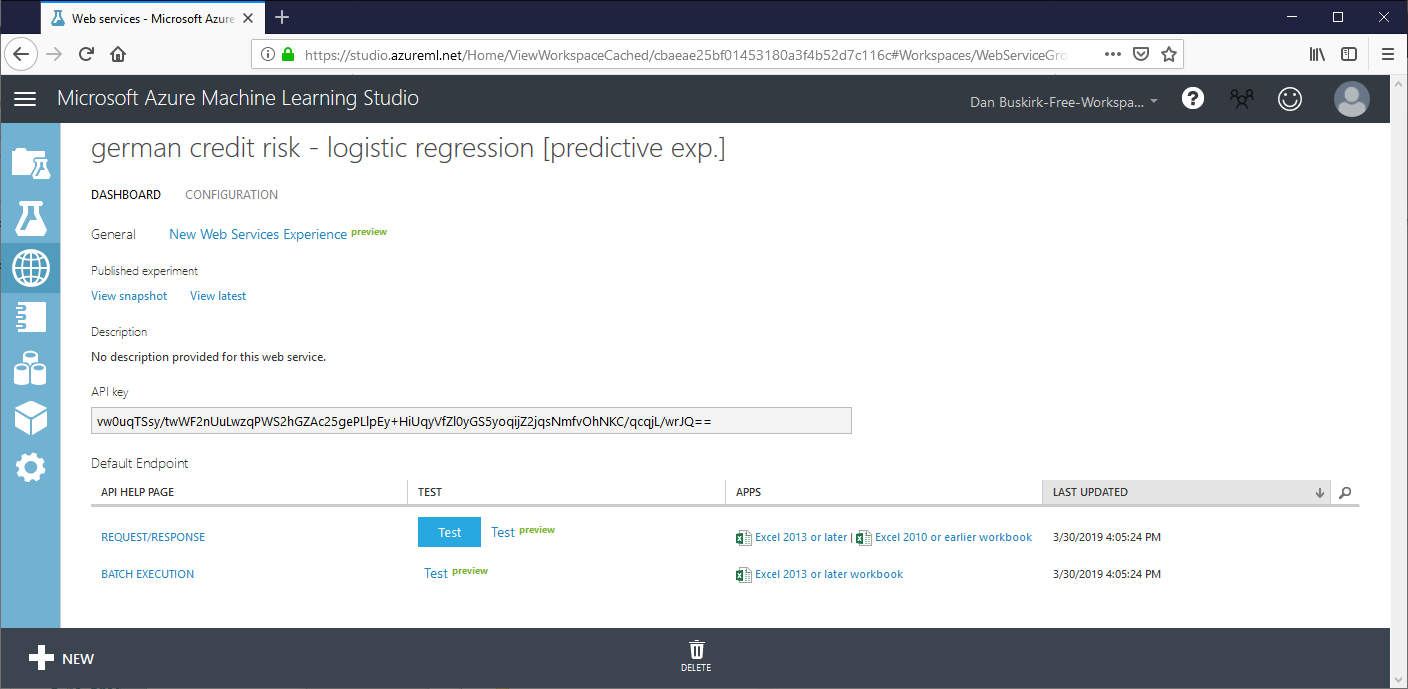
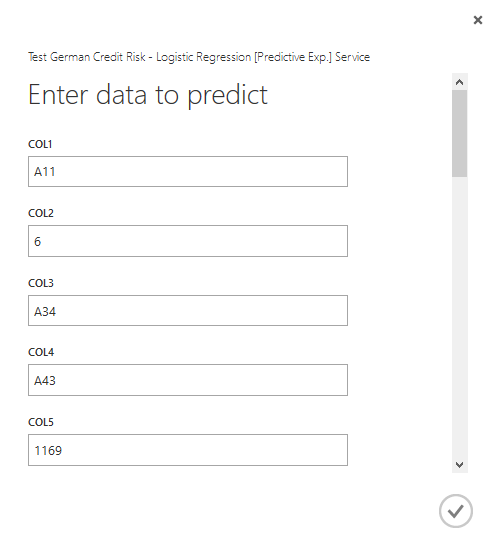
The new predictive experiment on the new tab will have to be run before we can deploy the web service. As before, running the experiment is required so it can be validated by AzureML Studio. After clicking Deploy Web Service we are taken to a page with critical information. There is an API key which would be necessary if we were to develop our own custom client for this web service. The web service can be tested from this page. The German credit sample data is primarily inscrutable codes that send us running to the index file if we are to make any sense of it. But we can type in the seemingly arbitrary codes and see if the service is working.
The test results are hardly pretty, but confirm that the web service works.
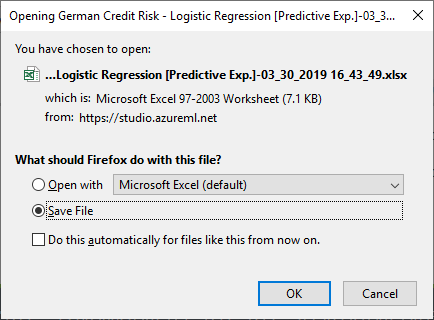
More interesting is the Excel client. The test page will provide a custom Excel workbook for download that includes an Excel add-in providing access to our web service. We can provide input from an Excel worksheet and receive results in our worksheet as well.
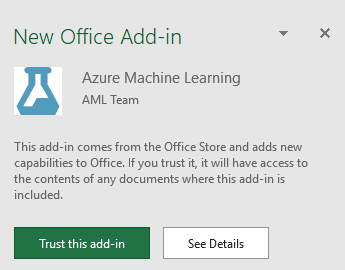
Opening the file in Excel we observe the presence of the add-in:
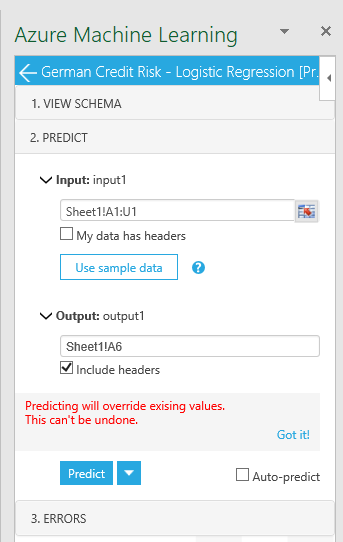
As would be expected from any good Excel add-in, both the input and the output data are in a worksheet.
Conclusion
The AzureML Studio provides a straightforward mechanism for creating and deploying an AzureML model as a web service. Of course, if you intend to do more than just test, you will likely want to deploy the web service on your Azure account. However, for development and testing purposes the AzureML Studio provides everything you need.


